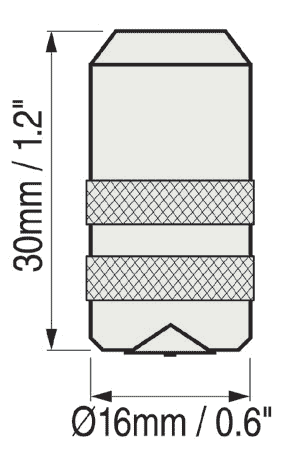
Range: 0 - 25 mils (625 µm)
Resolution: 0.05 mil / 0.1 mil (1 µm / 2 µm)
Models: 6000-NAS1, 6000-NAS3
Resolution: 0.05 mil / 0.1 mil (1 µm / 2 µm)
Models: 6000-NAS1, 6000-NAS3
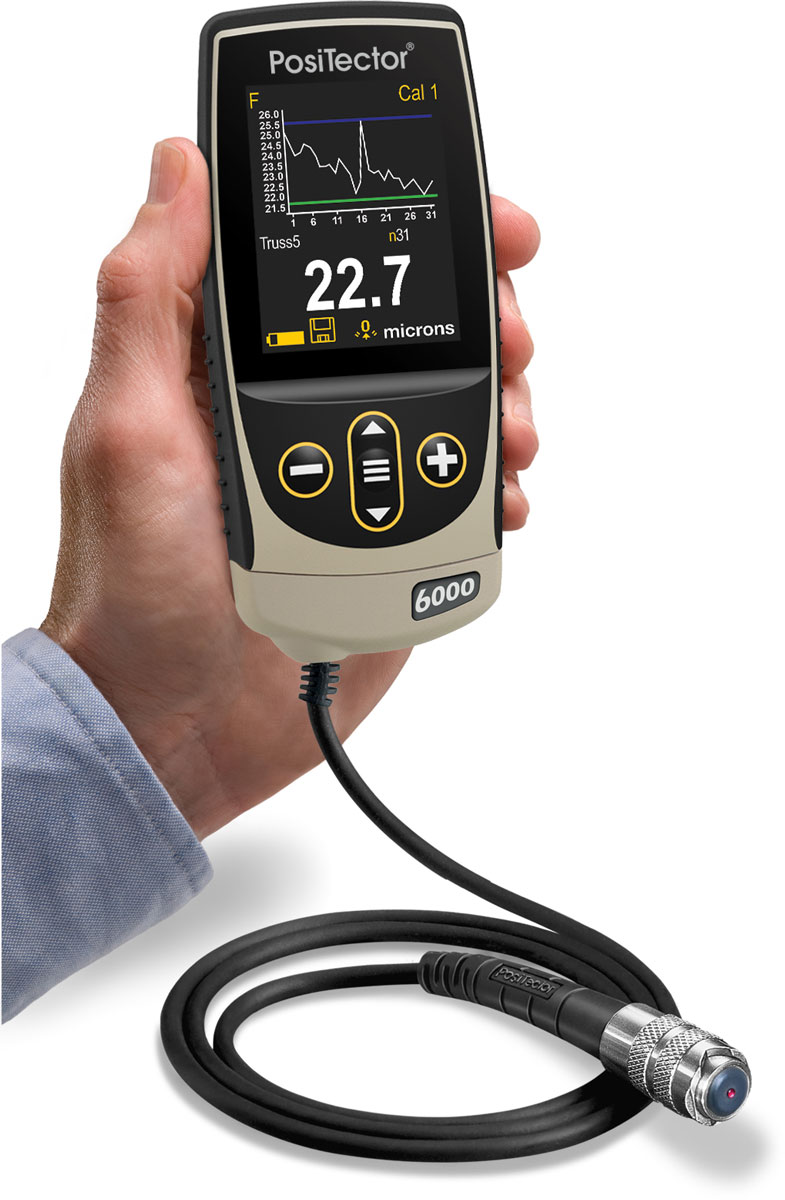
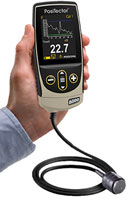
The 6000AN Series Anodizing Coating Thickness Gauge is a versatile, rugged tester using eddy current principles to measure coating thickness on non-ferrous metals, accurately and quickly.
Measures Non-Magnetic Coatings (Anodizing, Paint) up 25 mils (0-625 µm) applied to Non-Ferrous metals.
All models are offered in three possible configurations; BASIC (1), STANDARD (2) and MEMORY (3) permitting users to select the feature set most suitable for their application. Refer to table below summarizing the different features included with each type "1", "2" or "3".
 Easy-To-Use
- Ready to measure—no calibration adjustment required for most applications
- Enhanced one-handed menu navigation
- Flashing display—ideal in a noisy environment
- RESET feature instantly restores factory settings
- Solvent, acid, oil, water and dust resistant - weatherproof
- Wear-resistant probe tip
- Shock-absorbing, protective rubber holster with belt clip
- Two year warranty on gage body AND probe
- Certificate of Calibration showing traceability to NIST or PTB included (Long Form)
- Built-in temperature compensation ensures measurement accuracy
- Hi-RES mode increases displayed resolution for use on applications that require greater precision
- Conforms to national and international standards including ISO and ASTM
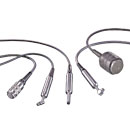
- Fully interchangeable probes are compatible with ALL gage bodies
- Multiple Calibration adjustment options including 1 point, 2 point, known thickness, average zero
- Selectable display languages
- Hi Contrast backlit display for bright or dark environments
- Flip display enables right-side-up viewing
- Extended cables available (up to 75 m/250 ft) for underwater or remote measuring
- Uses alkaline or rechargeable batteries (built-in charger)
- Statistics mode continually displays/updates average, standard deviation, min/max thickness and number of readings while measuring
- HiLo alarm audibly and visibly alerts when measurements exceed user-specified limits
- FAST mode - faster measurement speed for quick inspection
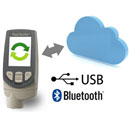
- USB port for fast, simple connection to a PC and to supply continuous power. USB cable included
- USB mass storage - stored readings and graphs can be accessed using universal PC/ Mac web browsers or file explorers. No software required
- Every stored measurement is date and time stamped
- Software updates via web keep your gage current
- Connects to PosiTector.net
| Feature Comparison Chart | Standard (1) | Advanced (3) |
|---|---|---|
| Hi Contrast LCD Display |  Color |
 Color |
| FAST mode - faster measurement speed for quick inspection | ||
| SCAN Mode - take continuous readings without lifting the probe | - | |
| Hi-Lo limits audibly and visibly alerts when measurements exceed your specified limits | ||
| Instantly calculate average, standard deviation, min/max thickness and number of readings while measuring | ||
| Reading Storage Capacity | 250 in one group | 100,000 in up to 1000 groups |
| SSPC PA2 feature set determines if film thickness over a large area conforms to user-specified min/max levels | - | |
| PSPC 90/10 feature determines if a coating system complies with an IMO performance standard for protective coatings | - | |
| Onscreen help, real time graphing, picture prompting and batch notes | - | |
| Multiple stored calibration adjustments for measuring on a variety of substrate conditions | - | |
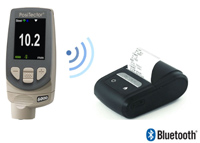
| Wireless Technology for data transfer to a PC or optional portable printer | - |
| Measuring principle: | magnetic induction principle (Ferrous) eddy-current principle (Non-Ferrous) |
| Display | Backlit & Reversible LCD |
| Data Output | IR & USB - "2" & "3" Models Bluetooth - "3" Models |
| Surface Temp. | Maximum 120 °F / 49 °C |
| Power | 3 AAA batteries, Included |
| Dimensions | 5.75" x 2.5" x 1.2" (146 x 64 x 31 mm) |
| Weight | 5.8 oz. (165 g) without batteries |
| Protection Class | Meets or exceeds IP5X, Solvent, acid, oil, water & dust resistant |
| Probe Cable Length | 3 ft (1 meter) |
| Warranty | 2 Years |
| Calibration Certificate | Certificate of Calibration showing traceability to NIST or PTB included (Long Form) |
Is the PosiTector 6000 calibrated at the factory?
PosiTector 6000 instruments arrive fully calibrated and include a Long-Form Certificate of Calibration traceable to NIST or PTB. The Certificate of Calibration documents actual readings taken by your instrument at our calibration laboratory, on standards traceable to a national metrology institute. Beware of ‘Certificates’ or ‘Certificates of Conformance’ offered by competitors. These typically do not include actual instrument readings, and are often insufficient to meet common quality requirements.
Does the PosiTector 6000 need to be ‘calibrated’ or ‘adjusted prior’ prior to use? Do I need to perform a two-point adjustment prior to measuring?
The innovative probe technology and factory calibration in the PosiTector 6000 means that it arrives ready-to-measure — usually there is no need to perform a two-point calibration adjustment. Ruby or alumina probe tips on standard probe models eliminate wear, meaning that the factory calibration is maintained throughout the lifetime of the probe. Whether out of the box or after years of use, PosiTector 6000 will continue to provide accurate results.
For highest confidence and best measurement accuracy, observe our “golden rule” — simply check ZERO (or the known thickness of a shim) on the uncoated part, adjust if necessary, and then measure the coated part. This ensures that the probe is properly adjusted for substrate characteristics including mass, metallurgy, curvature, temperature and roughness.
Do your instruments require any formal training for use? Do you offer ‘demo’ models?
No. Our instruments are designed for simple operation, feature easy-to-use menus, both full and quick instruction manuals, and helpful videos. In lieu of demonstration models, we provide unlimited technical support via telephone and/or email, and a limited 30-day money back guarantee.
How often should the PosiTector 6000 be recalibrated?
PosiTector 6000 probes include a Certificate of Calibration with no expiry or end date. They have no shelf life, therefore the length of time in the field is not a good indicator for recalibration intervals. Many organizations with quality programs and recertification programs require annual recalibrations, and this is a good starting point for most users. Manufacturers recommend that customers establish calibration intervals based upon their own experience and work environment. Based on our product knowledge, data and customer feedback, a one year calibration interval from the date the instrument was placed in service is a good starting point.
What can the PosiTector 6000 measure?
PosiTector 6000 probes have different capabilities depending on the model.
-‘Ferrous’ model probes (order code beginning in ‘F’ ex. FS1) can measure non-magnetic coatings applied to ferrous (magnetic) metals, typically carbon steel.
-Non-ferrous’ model probes (order code beginning in ‘N’ ex. NRS3) can measure non-conductive coatings applied to non-ferrous metals.
‘Combination' model probes (order code beginning in ‘FN’ ex. FNTS1) can measure non-magnetic coatings applied to ferrous (magnetic) metals, AND non-conductive coatings applied to non-ferrous metals
Is the PosiTector affected by the surface roughness (profile) of the metal substrate below the coating?
All coating thickness gages are influenced to some degree by substrate roughness, as shown in the below image. It is generally accepted that coating thickness should be measured from the highest ‘peaks’ in the rough surface thus ensuring they are covered by the protective coating. However, coating thickness gages will instead measure the coating thickness from the ‘effective magnetic plane, which is located somewhere between the highest peaks and deepest valleys of the profile.
SSPC-PA 2 proposes several solutions depending upon the instrument type and the particular situation. Similar methods are suggested by ASTM D7091 and ISO 19840. One option is to verify the gage reads zero on the uncoated steel substrate, and adjust to zero if necessary. This is a popular solution when the metal surface is relatively smooth.
Since it is difficult to ensure that the probe tip is sitting on the highest peaks of the surface profile, another option is to place a plastic shim of a known thickness that is close to the expected thickness of the applied coating between the probe and substrate and adjust to the stated thickness of the shim- referred to as a 1-point adjustment. The plastic shim sits on the peaks of the surface profile over a greater area than the probe tip, ensuring that the adjustment is being taken ‘over the peaks’. This best simulates a coating covering the peaks of the surface profile.
Can the PosiTector 6000 measure coatings on stainless steel?
"Stainless steel" is a term used to generally categorize a wide variety of corrosion and heat-resistant alloys. In specific terms of metallurgy, a “stainless steel” is any iron-based alloy containing a minimum of 10.5% chromium content by mass. Some stainless steel alloys have a relatively low magnetic response (often called “partially/weakly magnetic”). Others have no magnetic response whatsoever, and some possess a ferromagnetic response similar to carbon steel.
The PosiTector 6000 is uniquely able to measure partially magnetic stainless steel alloys, an application that is challenging for many competitive instruments. PosiTector 6000 FN (combination ferrous/non-ferrous) probe models can often measure consistently on partially magnetic substrates with a simple Zero adjustment. For more challenging applications, the “N-Lock” measurement mode permits accurate measurement of non-conductive coatings applied to partially magnetic substrates.
Can the PosiTector 6000 measure coatings on hot surfaces?
The PosiTector 6000 FHXS Xtreme is ideal for measuring coating thickness on hot and/or rough surfaces (250°C, 500°F maximum). All PosiTector 6000 probe are capable of measuring on hot surfaces. Standard probe models can operate at environments up to 50˚C (120˚F). However, if the probe is lifted clear of the surface as soon as a reading is taken and is allowed to cool, measurements can be taken at higher temperatures. Simply ensure that the probe remains at a temperature of less than 50˚C (120˚F), and cool enough to handle with an unprotected hand.
What is the minimum part size required to take a reading?
To ensure a part’s dimensions are suitable for a PosiTector 6000 probe, simply check ZERO on the uncoated part and adjust if necessary. Verify accuracy by measuring a plastic shim placed on the uncoated part. If the measurement is within the combined tolerances of the shim and probe, the probe is suitable for measuring the coated part.
Can the PosiTector 6000 be used underwater?
While the PosiTector gage body and probe connector are not suitable for immersion in water, PosiTector 6000 regular cabled probes are hermetically sealed and ideal for underwater use. Extended cables are available (up to 75 m/250 ft) for underwater or remote measuring.
Is the PosiTector 6000 intrinsically safe?
While the PosiTector 6000 is not designed as an intrinsically safe device, our PosiTest mechanical gages are ideal for measuring coating thickness in hazardous operating environments.
Can the PosiTector 6000 measure nickel on steel?
Yes, but it depends upon the particular type of nickel coating that has been applied to the steel.
-When nickel plating is deposited by a process of electrolysis (employing an electric current in the nickel bath), the resultant coating – commonly called “e-nickel” – is always conductive and magnetic to some degree and cannot be accurately measured by our gages when applied to ferrous or non-ferrous metals.
-Electroless nickel coatings are deposited by an autocatalytic process which does not involve the addition of an electric current. If the nickel bath in this process contains a minimum concentration of ~8% phosphorus, the resulting nickel plating is effectively non-magnetic and its thickness can be accurately measured on ferrous steel with a magnetic principle coating thickness gage such as a PosiTector 6000 F model.
ALL Gauges are supplied as a complete kit including precision plastic shims, protective rubber holster with belt clip, wrist strap, 3 AAA alkaline batteries, instructions, nylon carrying case with shoulder strap, protective lens shield, Long Form Certificate of Calibration showing traceability to NIST or PTB, USB cable, two (2) year warranty.
| Item | Description | Price | ||
|---|---|---|---|---|
6000-NAS3 | PosiTector® 6000 Non-Ferrous Coating Thickness Gauge for Anodizing with Advanced Body, 25 mils, 625um - NAS3-E | $1,585.00 | ||
| Accessories | ||||
Bluetooth Printer for PosiTector Series Gauges | $340.00 | |||
PAPERBT | 10 Rolls of Paper for the Bluetooth Printer (PRINTERBT) | $20.00 | ||
USBAC | AC Power Adapter, 100-230V for PosiTector 6000 Display | $45.00 | ||
LENSSHIELD | Protective Lens Shields, Pack of 5 for PosiTector® 6000 Display | $10.00 | ||
In stock
1 Week Lead Time (Estimated)
2-3 Week Lead Time (Estimated)
Lead Time Varies, Please contact us for availability.
Unavailable


